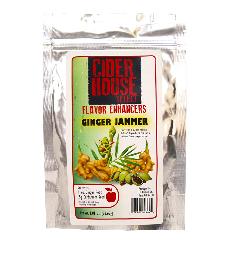
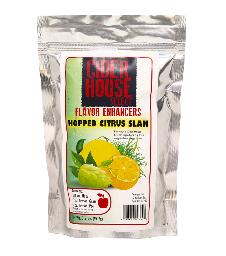
Cider is a great warm weather brew and ready in time to enjoy this summer! And making homemade beer or cider is an awesome experience that allows you to put a personal touch into your favorite brew. The process is easy to follow and each day more and more people are loading up their fridges with homemade ale and loving it!
Spice it up with some cider house ginger jammer or hopped citrus slam to any of our kits at RainMakers. Cider is best to ferment at a temperature between 68-80°F for about 5 to 14 days or until your hydrometer shows the fermentation has finished.
As far as beer-making, the process involves 4 important steps:
- The preparation
- Brewing process
- Fermenting
- Final bottling process
Preparation
Like any skilled tradesman, a beermaker needs certain tools and equipment to complete their job. You’ll need to prepare the following items before you get started:
- Large brewing kettle/pot
- Fermenter with Airlock
- Large spoon (for stirring)
- Auto-siphon
- Funnel
- Sanitizer – The importance of sanitizing your equipment can’t be stated enough. Equipment that you will use after the boiling process should be sanitized.
- A recipe of ingredients to make the beer
Brewing Process
- The brewing process first begins by steeping the grains. Fill your 5-gallon kettle halfway (2.5 gallons of water) and steep the grains for 20 minutes, more or less until the water reaches 170 degrees. When removing grains, be sure to put them in the grain bag and allow for excess water to drip back into the kettle. Don’t squeeze the drain bag! You could end up extracting unwanted tannins resulting in a bad tasting beer.
- After the kettle reaches a steady boil you can take it off the heat and begin to add your malt extracts. Return the kettle to a boil after the extract has dissolved. At this point, you can begin to add hops at certain intervals. The recipe you use will indicate the right times to add hops.
- At the stage of the game, you’re holding a giant pot of Wort which you’ll want to cool as quickly as possible. This can be done by setting the pot into a sink full of ice water or using a wort chiller.
Fermenting
Before you get started on the fermentation process, remember to sanitize everything you just used! Once your equipment has been sanitized, you’re ready to begin the process of fermenting your wort. This begins by pouring the wort into a fermenter and adding enough water to bring it to 5 gallons.
Once that’s done, oxygenate the wort by splashing or stirring it in the container, then add dry yeast (Making sure that both the yeast pack and scissors are sanitized beforehand). After you’ve done this, seal and airlock the fermenter and store it in a dark cool area. 68 degrees is the optimal temperature for proper fermentation and should be stored for2 weeks.
Bottling Your Homemade Beer
You’re now ready for the final step of bottling your homemade brew. But it’s not just pouring the beer into bottles and toasting with friends!
As always, be sure to sanitize your bottles, caps, buckets, and anything else you use in the transfer process. You’ll need to boil priming sugar in water (16oz), then add it to your bottling bucket after it cools. Priming sugar is what helps to give your beer carbonation.
Once that is done siphon your beer into the bottling bucket and you can then begin to fill your beer bottles. Using a bottle capper, cap your bottles and store them for 2 weeks at room temperature.
Now you know how to make your very own homemade brew or cider! Have fun with it and find the ingredients that bring out the flavors you love. Sign up for our next Beer or Cider Making Class at RainMakers Supply! Call us at 708-925-9046 for more information, or email us at info@rainmakerssupply.com.


